
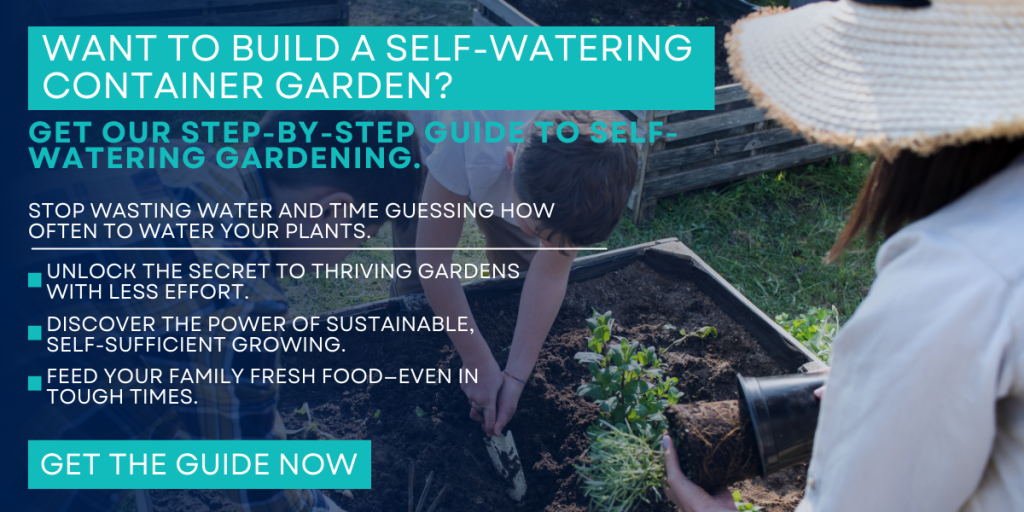
If you've ever struggled to keep your container garden alive during scorching heat or while you're away on vacation, you're not alone. Many gardening enthusiasts face the challenge of maintaining the perfect moisture balance for their plants. Enter the solution: a self-watering container garden. This ingenious approach not only simplifies plant care but also conserves water, making it an eco-friendly option that even the busiest of gardeners can appreciate.
Self-watering container gardens harness the natural process of capillary action, ensuring that plants receive just the right amount of hydration—even if you're nowhere near the watering can. This method is particularly beneficial for urban dwellers who may not have the time or space for traditional gardening methods. In this blog post, we will explore step-by-step guidance on how to build a self-watering container garden, transforming your gardening experience into a hassle-free and rewarding hobby.
Say goodbye to wilted leaves and hello to a garden that practically takes care of itself!
Materials Needed for a Self-Watering Container Garden
When you’re ready to learn How to Build a Self-Watering Container Garden, gathering the right materials is essential for success. Start with a sturdy container that has enough depth to hold both the plant root zone and a water reservoir below. You’ll need a waterproof liner or a separate inner pot to create that reservoir. A length of wicking material—such as cotton rope, old T-shirt strips, or specialized wick tape—will draw water up into the soil. Additionally, you’ll require potting mix or seed-starting mix, depending on the plants you choose.
Other supplies include gravel or small stones to form a barrier between the soil and the reservoir, ensuring that roots don’t drown. A water-fill tube—often a piece of PVC pipe or a sturdy plastic funnel—makes refilling simple and prevents disturbance to the root zone. Basic tools like a drill or a sharp utility knife will help you cut drainage holes and openings for the fill tube. Finally, consider a water gauge or moisture meter to monitor reservoir levels, and a layer of landscape fabric to keep soil from migrating into the reservoir.
With these materials in hand, you’re all set to begin setting up your self-watering container garden.
Choosing the Right Container for Your Garden
Selecting the ideal container impacts both the health of your plants and the efficiency of your system. Look for containers made of durable, weather-resistant materials such as plastic, resin, or glazed ceramic. These options retain moisture well and won’t degrade quickly under constant contact with water. Size matters: larger containers hold more water, reducing the frequency of refills, whereas smaller pots may run dry faster, requiring more attention.
Ensure the container has a flat base to accommodate your reservoir layer and that its height allows for at least two to three inches of water storage beneath the soil. If you’re converting an existing pot, verify that it can be fitted with a liner or an inner reservoir. Some commercial self-watering pots come with built-in reservoirs and fill tubes, while DIY designs rely on installing a separate insert. Whatever you choose, make sure the container is stable enough to support top-heavy plants and won’t tip over in windy conditions.
Setting Up the Self-Watering System
Creating a reliable self-watering system involves building a reservoir at the bottom of your container and installing a wicking mechanism. Begin by placing a layer of gravel or small stones at the base—about one to two inches deep—to form a waterproof chamber. Next, position your liner or inner pot inside the outer container, ensuring there’s uniform space around the sides for water to collect. Drill or cut a hole through the liner’s side near the base to insert your water-fill tube.
Thread your wicking material through the reservoir and into the planting medium. The ends should rest in the water chamber below and rise up into the root zone above. Fill the space around the wick with potting mix, taking care not to create air pockets. Install the fill tube so it extends just above the soil surface—this allows you to pour water directly into the reservoir without disturbing the soil. Finally, top off the container with a finishing layer of soil or mulch to reduce evaporation.
Once filled, saturate the potting mix thoroughly and allow the wick to draw water up, establishing a balanced moisture gradient.
Selecting the Ideal Plants for a Self-Watering Container Garden
Not every plant thrives in constant-moisture conditions, so choosing species with moderate to high water requirements is key. Herbs like basil, mint, parsley, and chives appreciate consistent moisture levels and adapt well to self-watering setups. Leafy greens such as lettuce, spinach, and Swiss chard also flourish in evenly damp soil, producing tender leaves with fewer stress spots.
For flowering ornamentals, begonias, impatiens, and fuchsias are excellent candidates, responding favorably to uninterrupted hydration. If you prefer vegetables, consider bush beans, peppers, or dwarf tomato varieties; these plants benefit from stable moisture during fruit development. Avoid succulents or cacti, as their low water demands often lead to overwatering issues in this type of system. Ultimately, matching plant water needs to your self-watering design will yield vigorous growth and abundant harvests.
Understanding the Watering Needs of Your Plants
Even with an automated system, it’s crucial to understand individual plant hydration requirements. Different species and growth stages demand varying moisture levels. Seedlings and young transplants generally require more frequent water availability to establish roots, whereas mature plants may tolerate brief dips in moisture.
Monitor your plants’ foliage and root health: wilting, yellowing, or leaf-drop can signal overwatering or nutrient leaching from constant saturation. Conversely, slow growth or browning leaf edges might indicate the reservoir has emptied. Familiarize yourself with each plant’s ideal moisture range—this insight helps you calibrate reservoir depth and wick thickness, ensuring your self-watering container garden performs optimally.
Monitoring and Adjusting the Water Levels
Regular checks keep your self-watering system functioning smoothly. Install a water gauge or use a clear fill tube to observe reservoir levels. At first, check daily to learn how quickly your garden consumes its supply. Record how many days pass before a refill is needed, then develop a consistent schedule to prevent drought stress.
Adjust water levels based on seasonal changes: plants typically need more water during hot, sunny periods and less during cool or overcast conditions. If you notice the reservoir emptying too quickly, consider increasing its capacity or reducing wick thickness. If it remains full for extended durations, thin the wick or improve drainage pathways to avoid root rot. Fine-tuning these variables ensures your self-watering container garden remains balanced and healthy.
Tips for Maintaining a Healthy Self-Watering Container Garden
Maintaining plant health extends beyond watering. Fertilize regularly, as nutrients can leach from the soil with continuous moisture. Use a water-soluble, balanced fertilizer every two to three weeks, or apply slow-release granules at planting. Prune spent blooms and yellowed leaves to encourage air circulation and prevent disease.
Inspect your system for algae or mold growth at the soil surface, which can indicate excess moisture or poor airflow. Adding a layer of mulch or horticultural grit can suppress algal blooms. Rotate plants periodically to ensure even sun exposure and prevent leggy growth. Lastly, clean reservoirs and refill tubes each season to remove accumulated debris. These routine maintenance tasks keep your self-watering container garden thriving year after year.
Troubleshooting Common Issues with Self-Watering Systems
Even well-designed self-watering gardens can encounter challenges. If roots appear waterlogged or show signs of rot, reduce reservoir depth or switch to a coarser potting mix to improve aeration. Compacted soil can slow capillary action; fluff the medium gently around the wick to restore proper water flow.
Clogged wicks often result from fine particles accumulating in the reservoir. Replace or clean your wicking material periodically, and consider using a filter screen at the wick entry point. Leaks or overflow may signal that the fill tube is positioned too low—raise it above the reservoir floor or seal any unintended gaps. By identifying and addressing these common problems, you’ll keep your self-watering container garden operating effectively.
Expanding Your Self-Watering Garden
Once you’ve mastered a single container, scaling up is easy. Link multiple pots with shared reservoirs by placing them on a saucer or shallow tray that acts as a communal water source. This approach allows you to water several units at once. Vertical self-watering planters and tiered shelves maximize space, perfect for balconies or small patios.
For larger installations, consider installing drip irrigation lines connected to a central water reservoir with a float valve. Automate refill cycles with a simple timer or float-controlled pump. Experiment with different container shapes—window boxes, barrels, even repurposed buckets—to diversify your garden. With thoughtful planning, your self-watering container garden can grow from a beginner project into an abundant, multi-variety oasis.
Enjoying the Benefits of a Self-Watering Container Garden
By following these steps on How to Build a Self-Watering Container Garden, you’ll transform plant care from a chore into a pleasure. Your plants stay consistently hydrated, resulting in healthier growth and higher yields without constant monitoring.
Embrace the freedom of an automated watering system—spend more time enjoying your garden and less time lugging a watering can. With proper setup, regular checks, and routine maintenance, your self-watering container garden will reward you with lush foliage and bountiful harvests season after season.


0 Comments